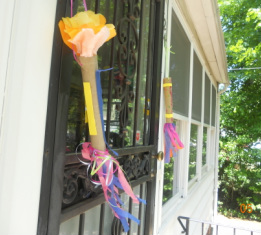
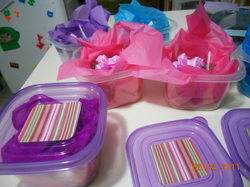
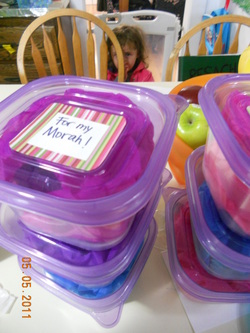
And here they are, the long awaited flowers that won't make you sneeze or wheeze, and yet at the same time, are made of a handy dandy material that can be used for wiping noses should the need arise. The best of both worlds, if you ask me.
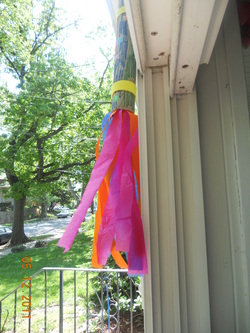
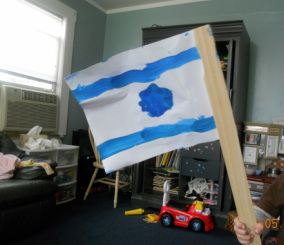
These tissue paper flowers look hard (at least to me) and have always intimidated me. I tried making them once before from the Martha Stewart website but it didn't go well. Today will be Take Two. Let's see if these are post-worthy. Ah, who am I kidding. I'm gonna show you either way - if I work on it, I show it. And in the end, I made four different ones. I'm not sure I would use any of them in an actual centerpiece where company might be seated across from them, but I did stick one into the top of one of the windsocks that we made.
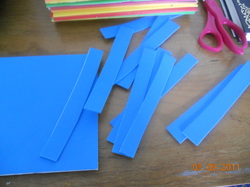
Okay, so to start, gather five sheets of tissue paper in different colors. They don't have to be all different, they can be three of one color and two of another and you can alternate them. Also, and I won't tell anyone, but you really can use the same color sheet for all five sheets. I promise. Your flower will be just as pretty.
These tissue paper flowers look hard (at least to me) and have always intimidated me. I tried making them once before from the Martha Stewart website but it didn't go well. Today will be Take Two. Let's see if these are post-worthy. Ah, who am I kidding. I'm gonna show you either way - if I work on it, I show it. And in the end, I made four different ones. I'm not sure I would use any of them in an actual centerpiece where company might be seated across from them, but I did stick one into the top of one of the windsocks that we made.
Okay, so to start, gather five sheets of tissue paper in different colors. They don't have to be all different, they can be three of one color and two of another and you can alternate them. Also, and I won't tell anyone, but you really can use the same color sheet for all five sheets. I promise. Your flower will be just as pretty.
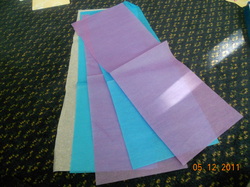
Cut the sheets into approximetaly 5 inches by 15 inches and layer the sheets. Fold the pile up like an accordian, in medium size folds, maybe about 3/4 of an inch to an inch wide. And this is where I hit a wall. Do you fold the long side? The short side? Who knows? So I did it both ways.
If you fold the short side, you will have a smaller, tighter flower. If you fold the long side, you will have a larger, airier flower. But if you fold the long side, I would add two or three more sheets of tissue paper to the original stack because the larger flower looked a little empty to me.
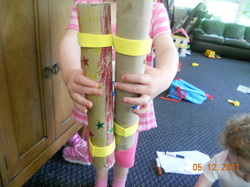
Anywho, once they are folded, use a pipe cleaner and twist it around the center of the accordianed tissue paper. I know that a pipe cleaner is best, but I'll be honest, I didn't I have any, so I used a twist tie that came with the garbage bags.
If you fold the short side, you will have a smaller, tighter flower. If you fold the long side, you will have a larger, airier flower. But if you fold the long side, I would add two or three more sheets of tissue paper to the original stack because the larger flower looked a little empty to me.
Anywho, once they are folded, use a pipe cleaner and twist it around the center of the accordianed tissue paper. I know that a pipe cleaner is best, but I'll be honest, I didn't I have any, so I used a twist tie that came with the garbage bags.
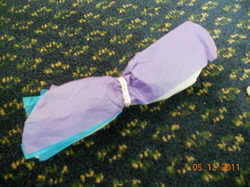
With a scissor, cut both end points of the tissue paper accordian into somewhat of a rounded or top of a leaf shape.
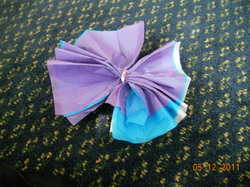
Next, unfold the accordian into a kind of fan shape and separate the layers of tissue paper to form the petals of the flower.
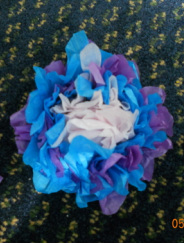
This is the smaller flower - the one that had the short side folded.
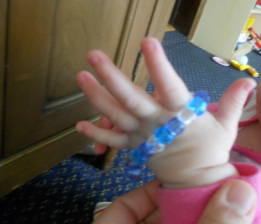
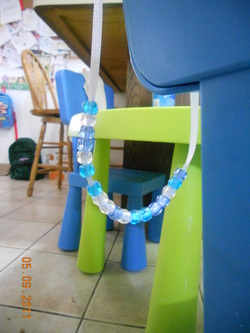
Now, if you had used a pipe cleaner, you would now have somewhere to attach your second (green) pipe cleaner to make a stem. A twist tie doesn't really lend itself to that because it needs to be twisted tighter. So instead I threaded some thin ribbon through the bottom of the twist tie and now my flowers are hanging from the ceiling. Okay, not really the ceiling, the chain from the ceiling fan - I couldn't reach the ceiling. But ceiling, ceiling fan, it's all the same.
Here are the other ones we made:
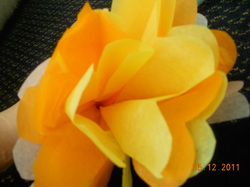
This is the bigger flower, the one that had the long side folded.
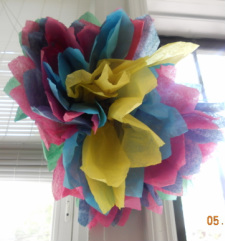
This one had the long side folded. It is a bigger flower and also had seven sheets of tissue paper instead of five.