It's birthday season in our house.
My oldest turned 9 about a week ago and his younger brother will be 8 in another couple of weeks - and lucky me, I convinced them to have a joint birthday party this year. Way more work at the party with so many kids, but actual prep hours were cut by half, at least, considering we cut out an entire party. It also helps when you live in a small community and the different ages play well with each other.
We did something else different this year. We made a birthday party in the evening. We're big morning people and by 6pm, we're usually winding down for the day, but this party was at 5pm. For dinner. And a campfire. And water games. And bingo and a treasure hunt.The boys all felt very grown up, which they kind of are.
The plan had been to make a real campfire but we had to nix that when it started raining and thundering and lightning in the afternoon and all the sticks we had planned to collect got soaked.
But otherwise, the party went off as any boy party would - crazy, loud and somewhat out of control. My friend who lives on the block behind us reported that she heard the party from her backyard. That's kind of far. And loud. What can you do.
Instead of a campfire, we barbecued hotdogs on the grill and then we roasted marshmallows on sticks on that same grill. The marshmallows tasted faintly of meat, but no one complained.
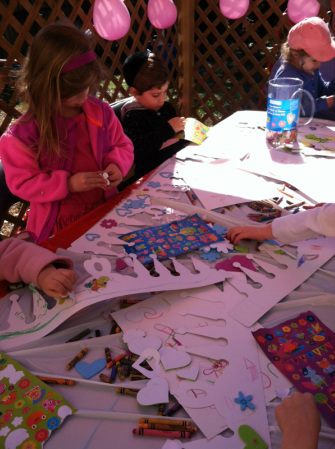
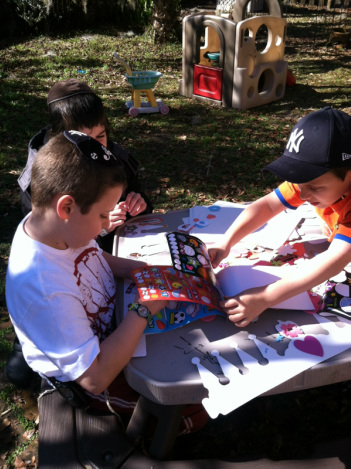
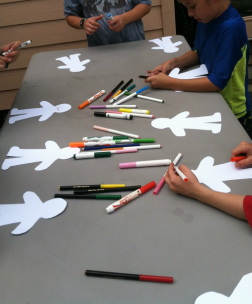
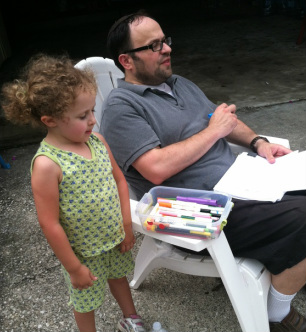
The party started with a coloring session - we made paper people, using markers and cardstock people cutouts I had made the night before. The boys weren't so into the project but I made them do it anyway. I needed 50 of these paper people for the Welcome Back to School Bulletin Board and I certainly wasn't coloring fifty of them myself. Am I horrible? (I don't care.)
My oldest turned 9 about a week ago and his younger brother will be 8 in another couple of weeks - and lucky me, I convinced them to have a joint birthday party this year. Way more work at the party with so many kids, but actual prep hours were cut by half, at least, considering we cut out an entire party. It also helps when you live in a small community and the different ages play well with each other.
We did something else different this year. We made a birthday party in the evening. We're big morning people and by 6pm, we're usually winding down for the day, but this party was at 5pm. For dinner. And a campfire. And water games. And bingo and a treasure hunt.The boys all felt very grown up, which they kind of are.
The plan had been to make a real campfire but we had to nix that when it started raining and thundering and lightning in the afternoon and all the sticks we had planned to collect got soaked.
But otherwise, the party went off as any boy party would - crazy, loud and somewhat out of control. My friend who lives on the block behind us reported that she heard the party from her backyard. That's kind of far. And loud. What can you do.
Instead of a campfire, we barbecued hotdogs on the grill and then we roasted marshmallows on sticks on that same grill. The marshmallows tasted faintly of meat, but no one complained.
The party started with a coloring session - we made paper people, using markers and cardstock people cutouts I had made the night before. The boys weren't so into the project but I made them do it anyway. I needed 50 of these paper people for the Welcome Back to School Bulletin Board and I certainly wasn't coloring fifty of them myself. Am I horrible? (I don't care.)
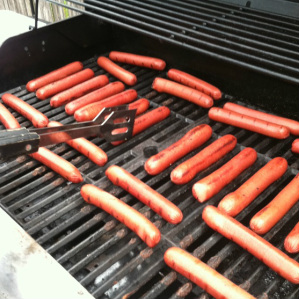
Then we moved on to the barbecue. We grilled 49 hotdogs. For 18 boys. Was that too many?
| 
|
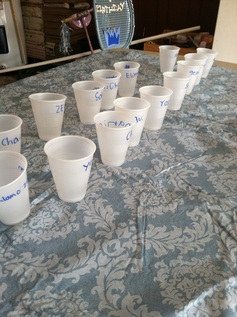
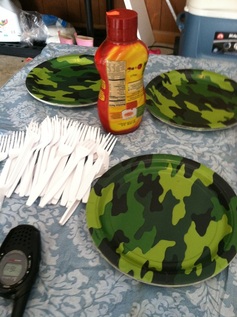
So, something that always annoys me - wasting plastic cups. Not cause we're that into recycling - although we do recycle. It's more because Costco is just so far away. To try to combat the need to go to Costco (again), we wrote each kid's name on a cup. It only kind of helped in the cup-wasting department. On the bright side, we scored big with these army-ish paper plates at the dollar store.
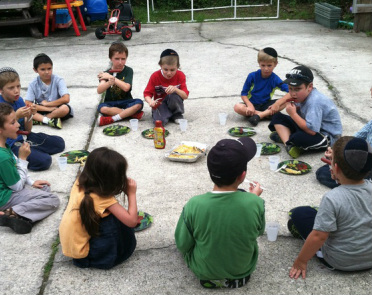
Once the hotdogs and french fries were ready, we had the kids eat on the ground. They didn't seem to mind.
Once the hotdogs and french fries were ready, we had the kids eat on the ground. They didn't seem to mind.
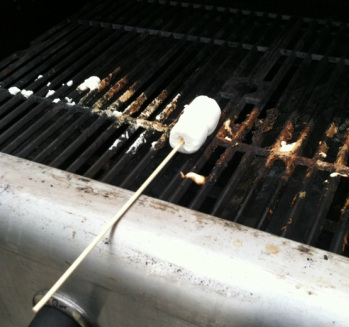
The marshmallows were almost all gone before I could take a picture. Here, I bring you, from Florida, The Last Marshmallow.
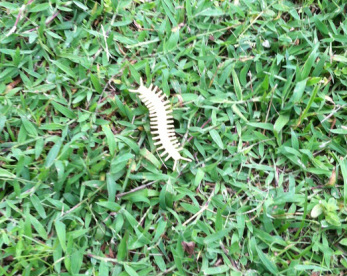
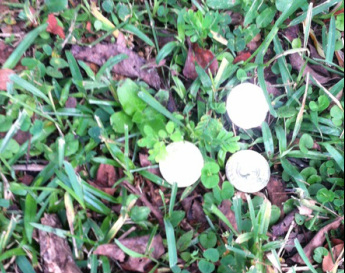
After eating, we had a backyard treasure hunt. We handed out brown paper bags and a list of things to find. Grass, twigs and rocks were on the list, as well as plastic bugs and gold coins.
| 
|
A good friend recently threw a birthday party with a treasure hunt and told me that the boys searched for a good twenty minutes. This excited me because holy-time-waster-batman! Twenty whole minutes!

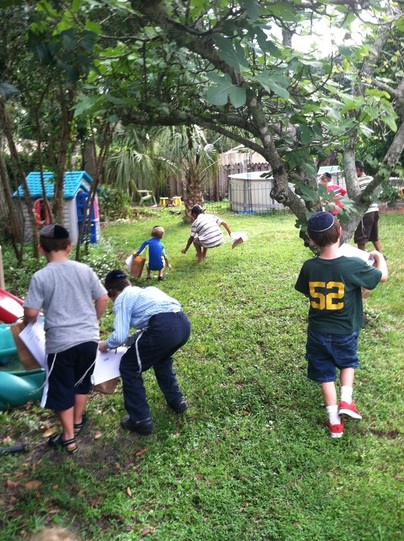
We lined them up, handed out the bags and let them at it. Four minutes after Josh yelled Go!, the kids were back. Hmmm. What did I do wrong?
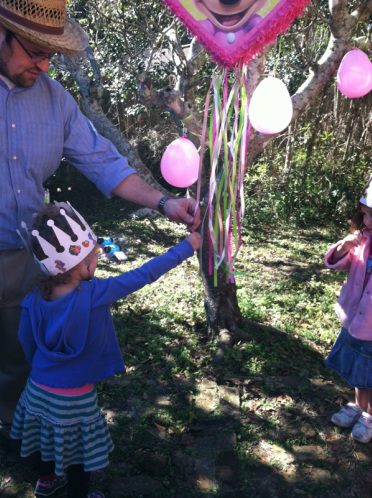
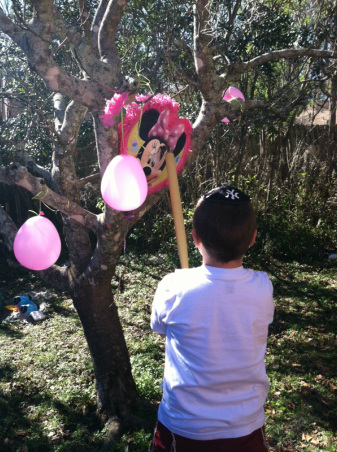
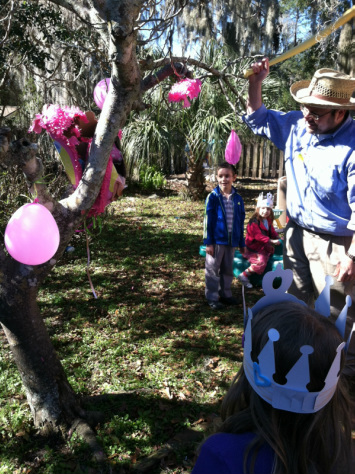
Moving right along, we all returned to the garage where a game of water balloon pinata was ready to go - it took us a few kids to realize that perhaps the hitter should be swinging the bat towards the other kids so that when the balloon bursts, the kids get wet as opposed to Josh who was refereeing from behind. Live and learn.
Moving right along, we all returned to the garage where a game of water balloon pinata was ready to go - it took us a few kids to realize that perhaps the hitter should be swinging the bat towards the other kids so that when the balloon bursts, the kids get wet as opposed to Josh who was refereeing from behind. Live and learn.
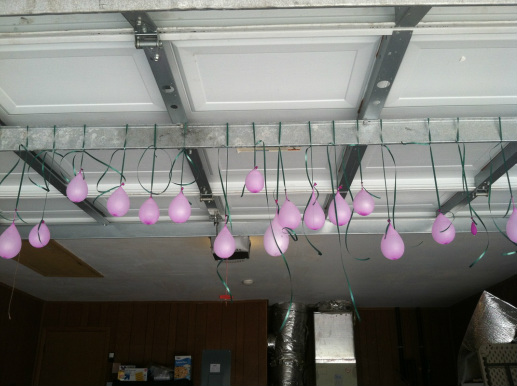
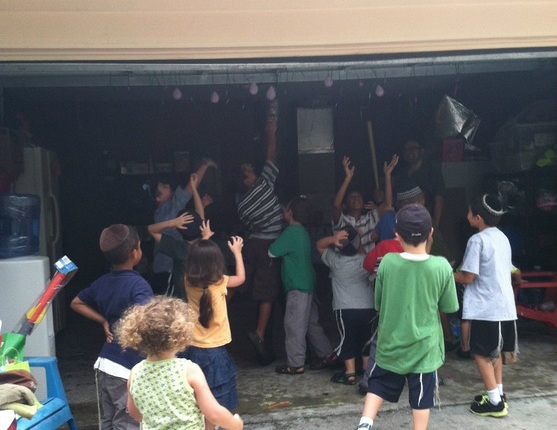
First we kind of lost control of the whole water balloon situation.
So then we played Bingo.
Josh liked this game because he got to sit down and use his Bingo-Caller-Guy voice.
So then we played Bingo.
Josh liked this game because he got to sit down and use his Bingo-Caller-Guy voice.
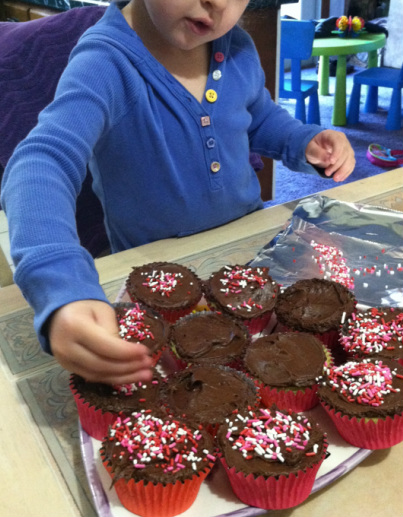
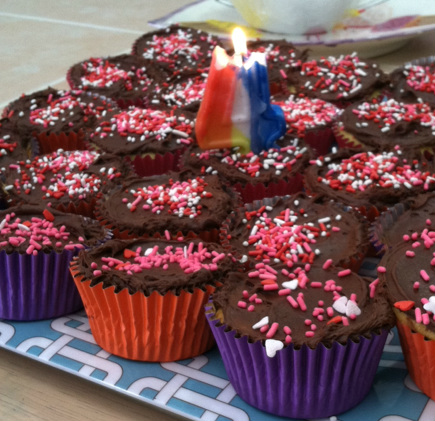
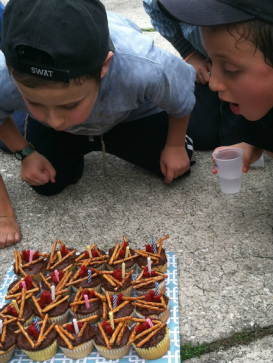
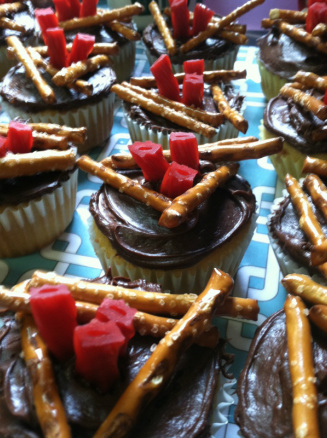
We ended with some campfire inspired cupcakes with pretzels as the logs and licorice as the fire.
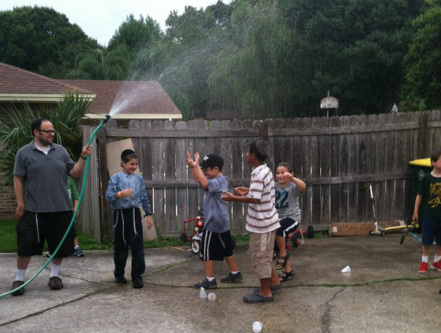
And then we realized that either our watches were wrong or all the parents were late picking up. So we turned the hose on the boys and they had a blast. Free games are always the best.
Happy birthdays to my favorite boys on earth!
:)
Jen
:)
Jen