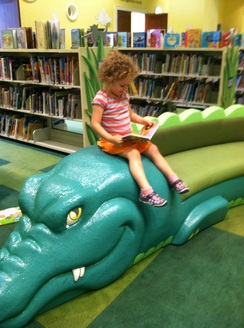
It's been forever since we checked in here - and I missed writing, but at the same time, we just had the most chilled out summer ever. School starts in a week so I feel like we kind of have to get our last licks in now before we have to sort all the school supplies and try on uniforms and eat breakfast before 10am.
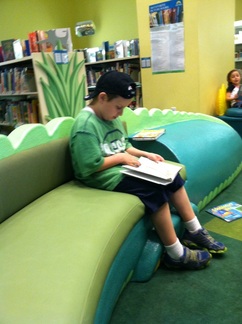
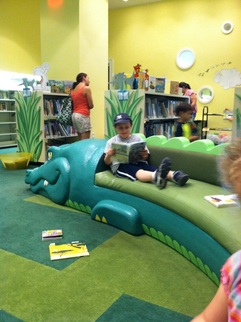
What does a chilled out summer look like with four kids?
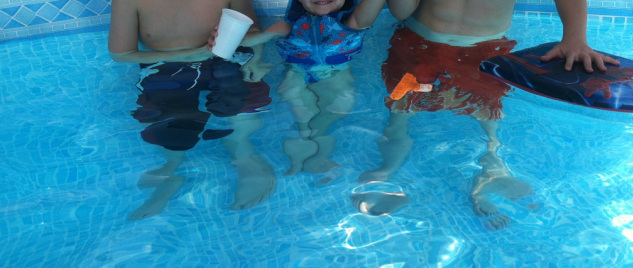
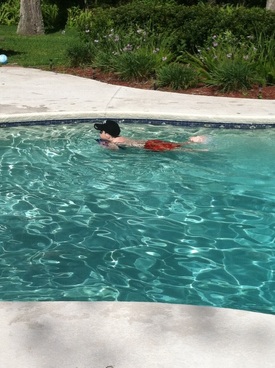
We swam.
We ate a truckload of ice cream.
And then we swam again.
We went food shopping once in a long while and along the way, we learned that it's way more cost effective to buy one or two (or three) containers of ice cream that will last us a long time than it is to go to the ice cream store. Also, if you already have the ice cream in the house, you don't have to get dressed.
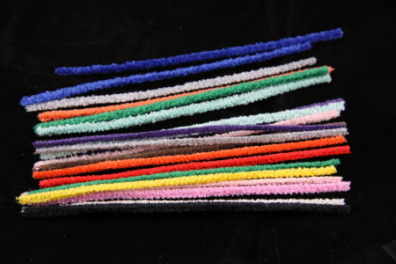
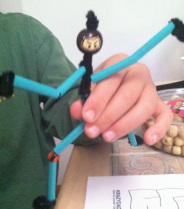
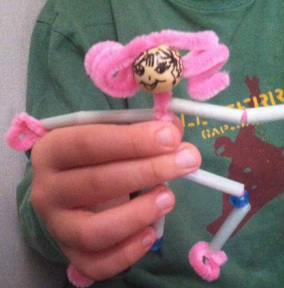
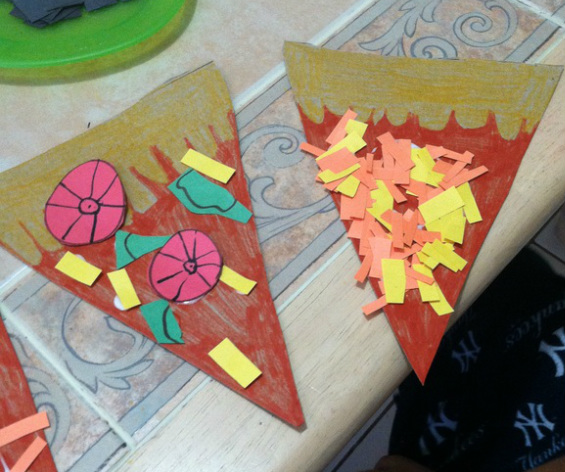
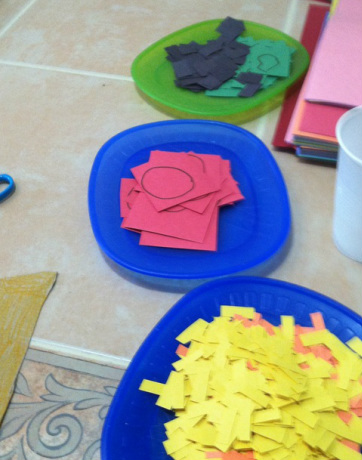
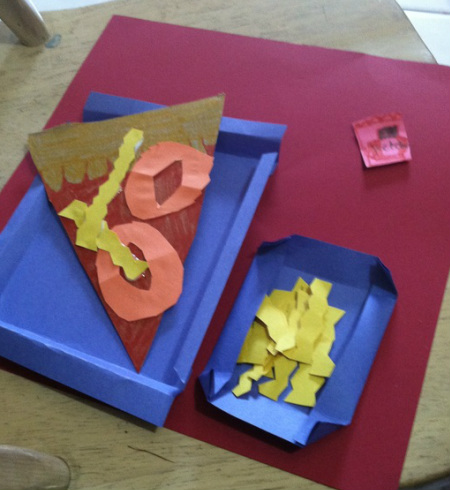
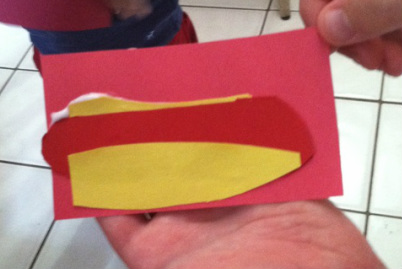
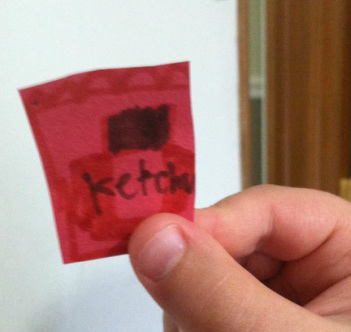
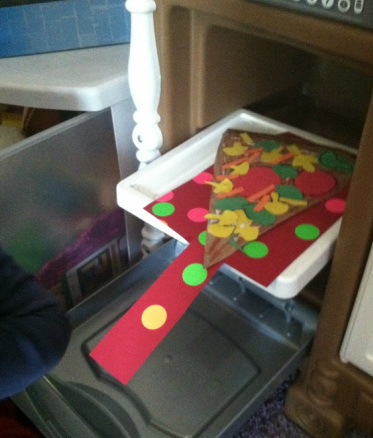
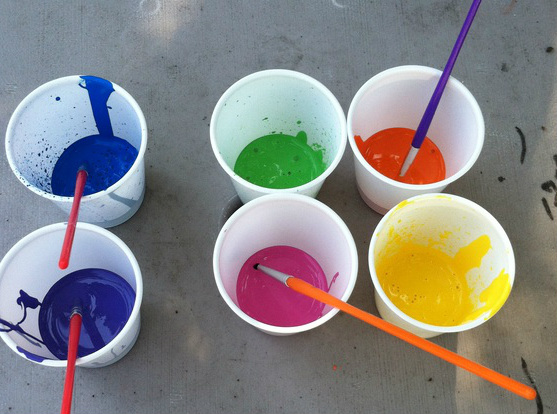
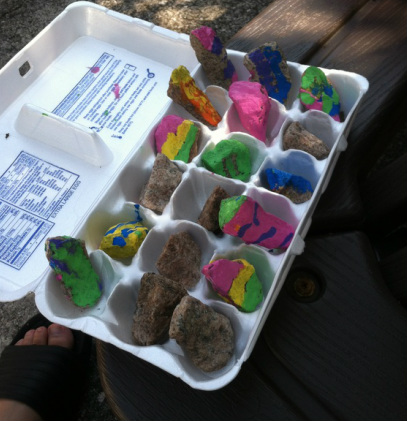
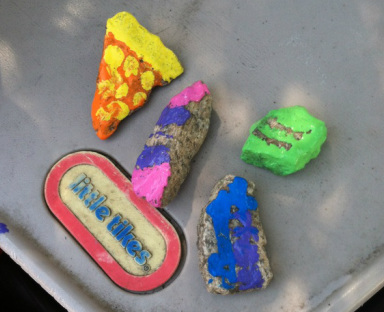
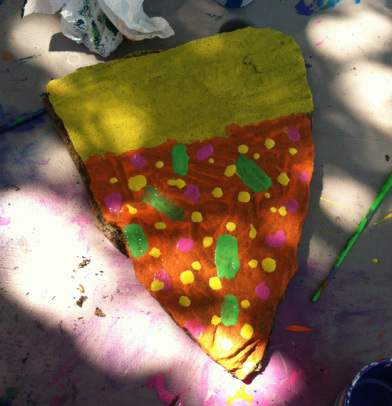
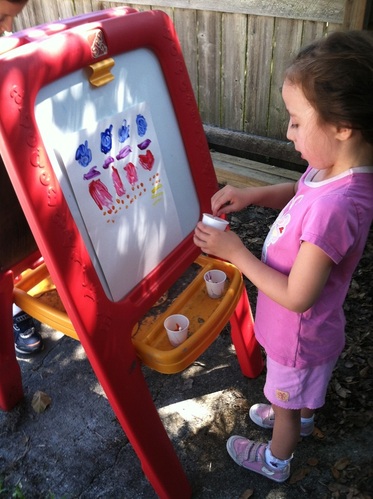
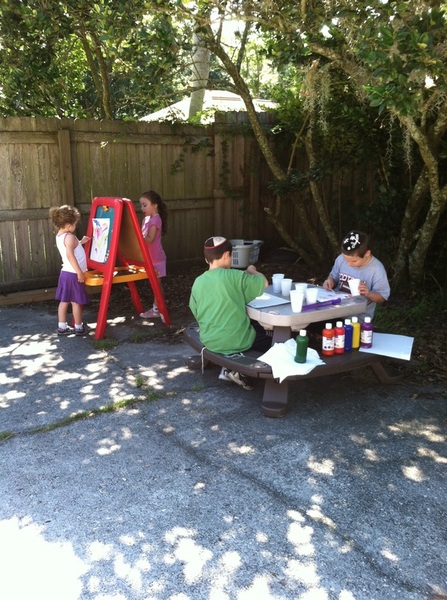
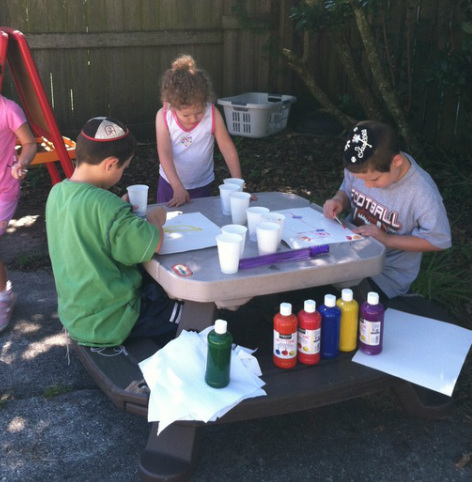
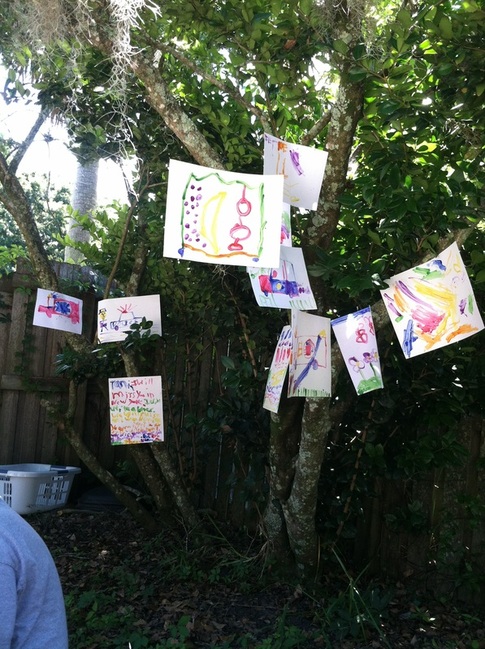
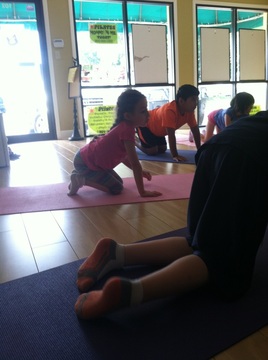
We did a few art projects here and there and we kept art journals where, in theory, we were going to complete a 30-day art challenge. We made it to day 10 - and that's pretty much because it rained 10 times. But the kids really enjoyed it so we can continue art journaling during the school year.
What does a chilled out summer look like with four kids?
We swam.
We ate a truckload of ice cream.
And then we swam again.
We went food shopping once in a long while and along the way, we learned that it's way more cost effective to buy one or two (or three) containers of ice cream that will last us a long time than it is to go to the ice cream store. Also, if you already have the ice cream in the house, you don't have to get dressed.
We did a few art projects here and there and we kept art journals where, in theory, we were going to complete a 30-day art challenge. We made it to day 10 - and that's pretty much because it rained 10 times. But the kids really enjoyed it so we can continue art journaling during the school year.
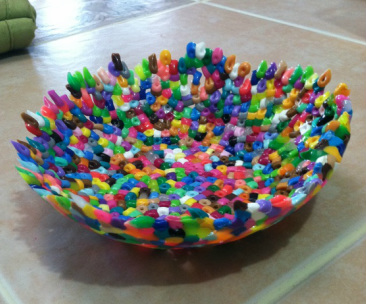
We also made this very cool Perler Bead bowl. You can make one too, they're all over Pinterest.
We also kept Israel journals.
What's an Israel journal?
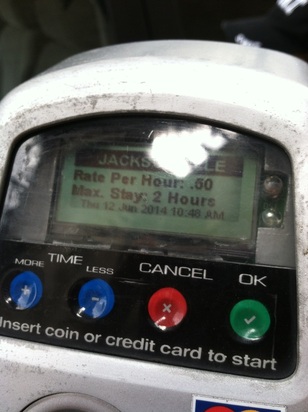
It's a notebook about all the different things we learned about the State of Israel this summer. We looked at maps and plotted cities, we learned many Hebrew words, we took a look at shekels and the money system and we printed pictures of all of our family members who live there and we figured how to spell all their names in Hebrew. We talked about the flag and the blue and white colors and the beit hamikdash and tisha b'av. We learned that there is a president and a prime minister and members of parliament and that there are many different parties - and they're not the birthday kind of party. And we drew pictures of the kotel and soldiers and sent letters and pictures to soldiers in Israel.
And the weird part - this was all planned out before any rockets were shot at Israel, before there was a war in Gaza. Months ago, I decided to faux-homeschool a unit on Israel this summer because I feel like I grew in an environment of zionism and my kids are not. And I dont think it's necessarily a reflection of their school - although a little bit it is - but moreso, that when we were young, there was a rally for everything. We were forever going into the city (that's NYC...) with signs and t-shirts, all ready to cheer for whatever speaker was speaking to the crowd. And until this recent Gaza problem in Israel, rallies have been almost non-existent for the past few years and so I have not had the opportunity to take my kids with their homemade signs and faded t-shirts into the city to show support for their country. And that's what I want them to feel - that Israel is not any just any place, but their country. I want them to know that we are guests here in America and that the end-goal is to be a part of our country, even though that country is quite far away right now.
So I guess we did a little bit more than eat ice cream and swim. But really not much more. I'm sad summer is pretty much over.
Seriously, I cannot wait for next summer.
:)
Jen
What's an Israel journal?
It's a notebook about all the different things we learned about the State of Israel this summer. We looked at maps and plotted cities, we learned many Hebrew words, we took a look at shekels and the money system and we printed pictures of all of our family members who live there and we figured how to spell all their names in Hebrew. We talked about the flag and the blue and white colors and the beit hamikdash and tisha b'av. We learned that there is a president and a prime minister and members of parliament and that there are many different parties - and they're not the birthday kind of party. And we drew pictures of the kotel and soldiers and sent letters and pictures to soldiers in Israel.
And the weird part - this was all planned out before any rockets were shot at Israel, before there was a war in Gaza. Months ago, I decided to faux-homeschool a unit on Israel this summer because I feel like I grew in an environment of zionism and my kids are not. And I dont think it's necessarily a reflection of their school - although a little bit it is - but moreso, that when we were young, there was a rally for everything. We were forever going into the city (that's NYC...) with signs and t-shirts, all ready to cheer for whatever speaker was speaking to the crowd. And until this recent Gaza problem in Israel, rallies have been almost non-existent for the past few years and so I have not had the opportunity to take my kids with their homemade signs and faded t-shirts into the city to show support for their country. And that's what I want them to feel - that Israel is not any just any place, but their country. I want them to know that we are guests here in America and that the end-goal is to be a part of our country, even though that country is quite far away right now.
So I guess we did a little bit more than eat ice cream and swim. But really not much more. I'm sad summer is pretty much over.
Seriously, I cannot wait for next summer.
:)
Jen