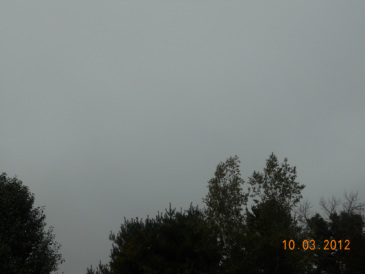
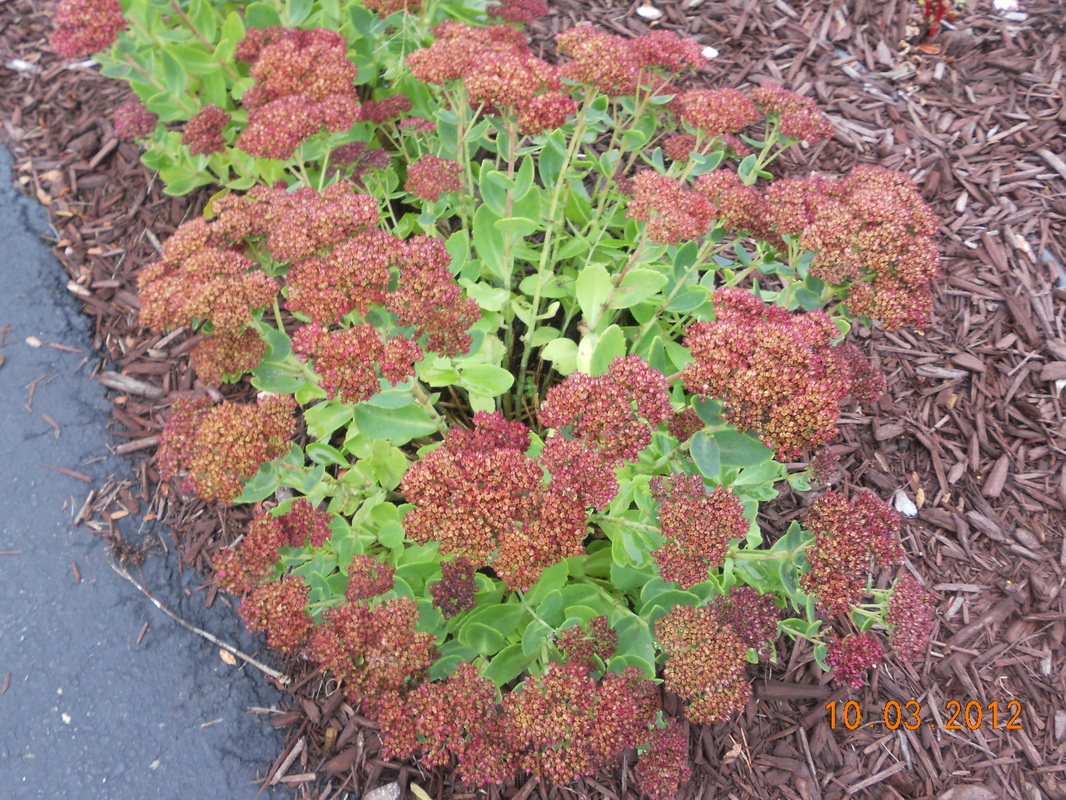
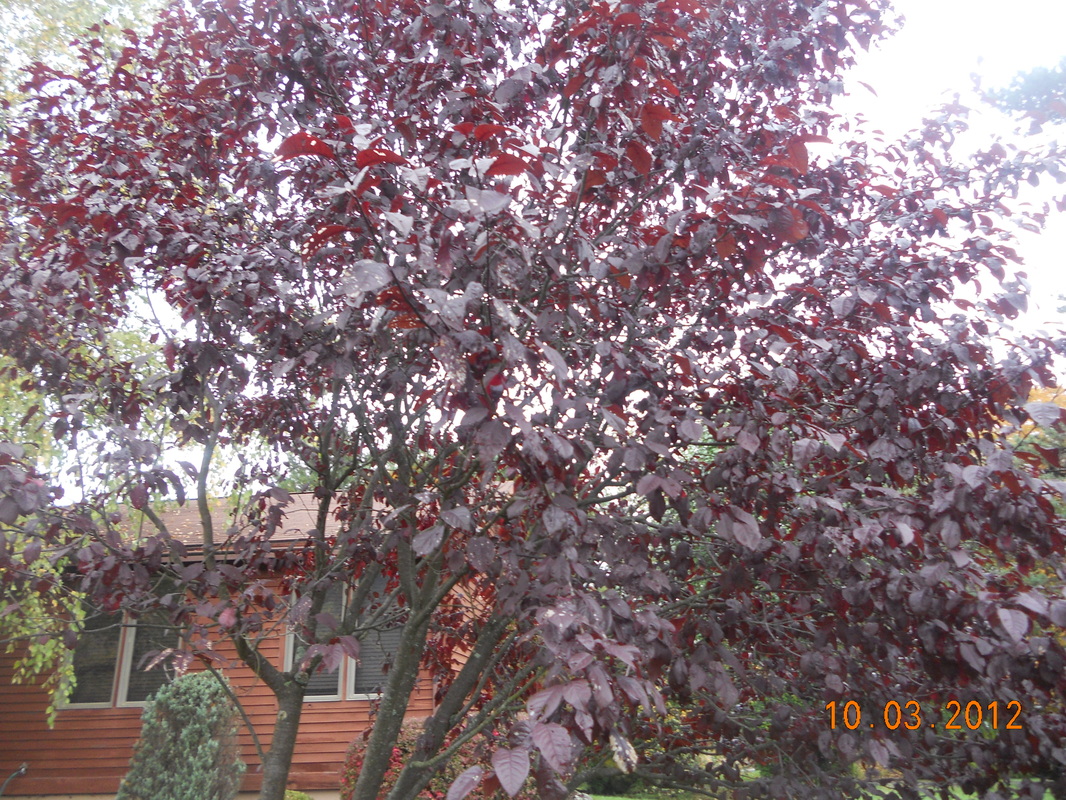
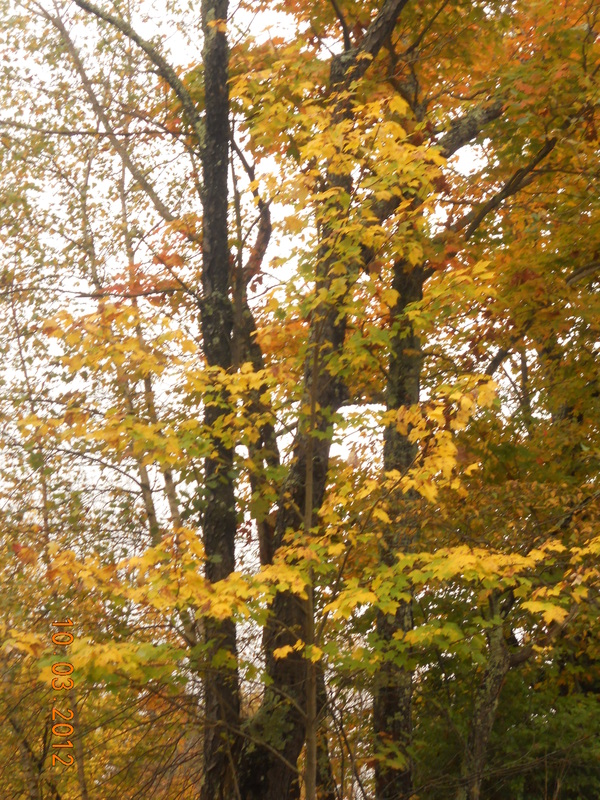
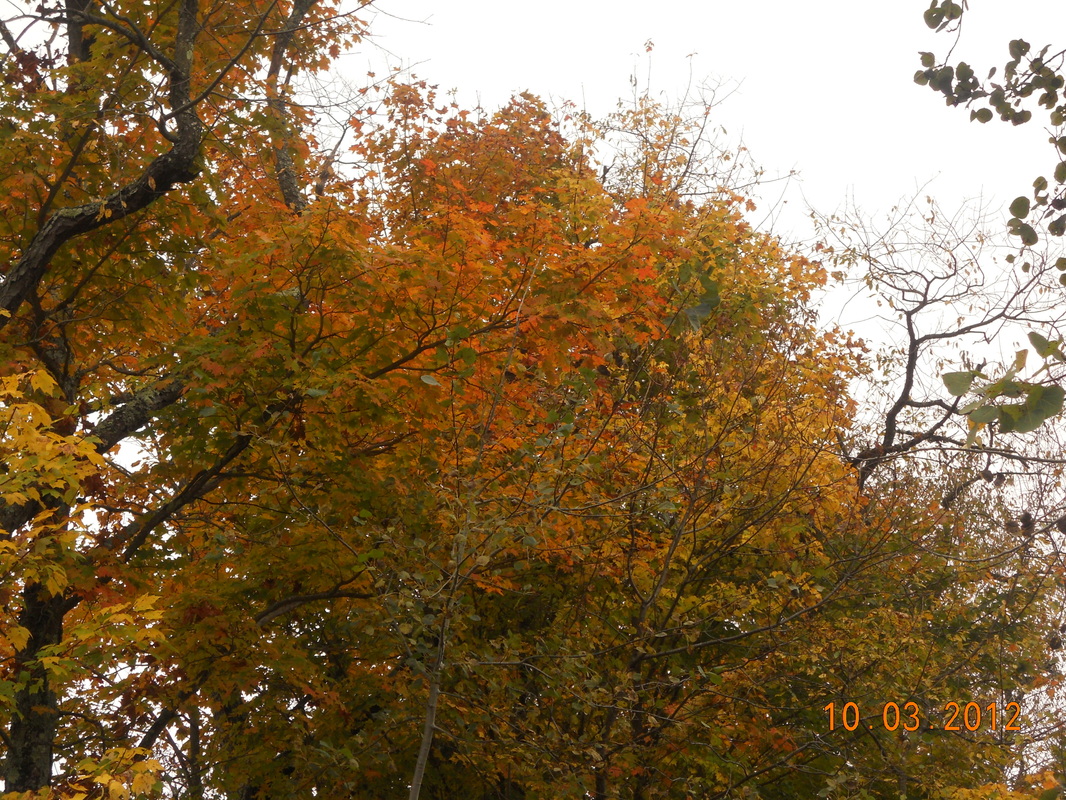
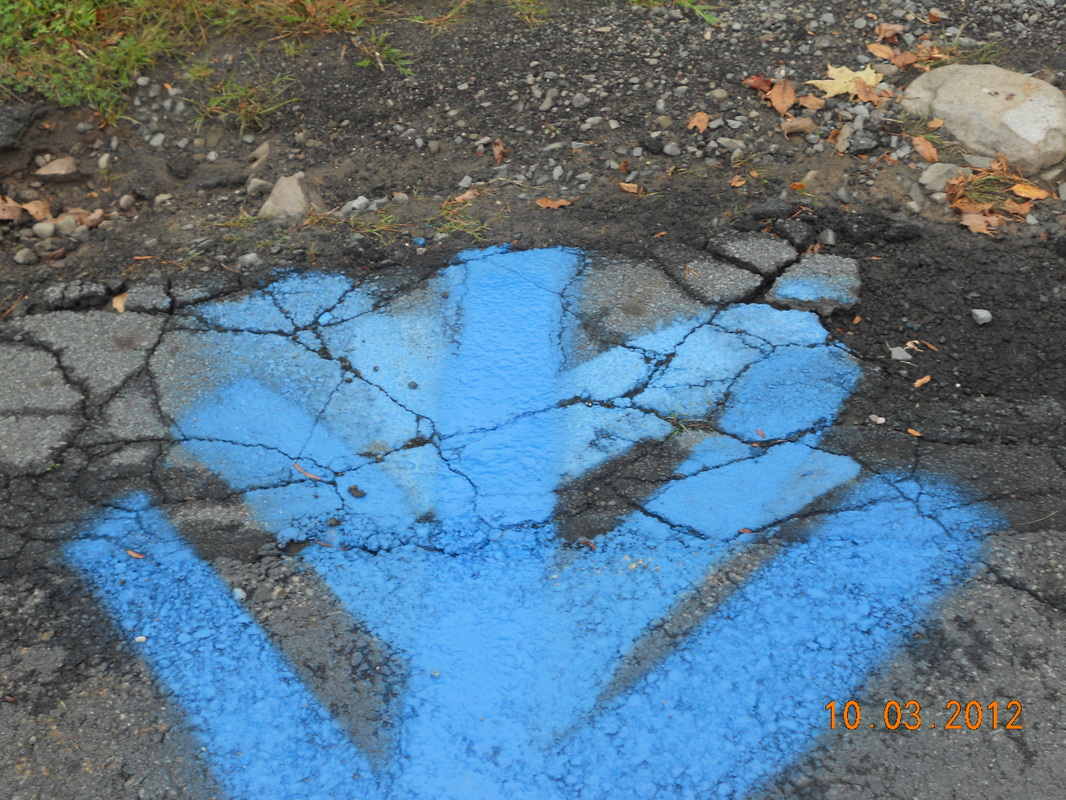
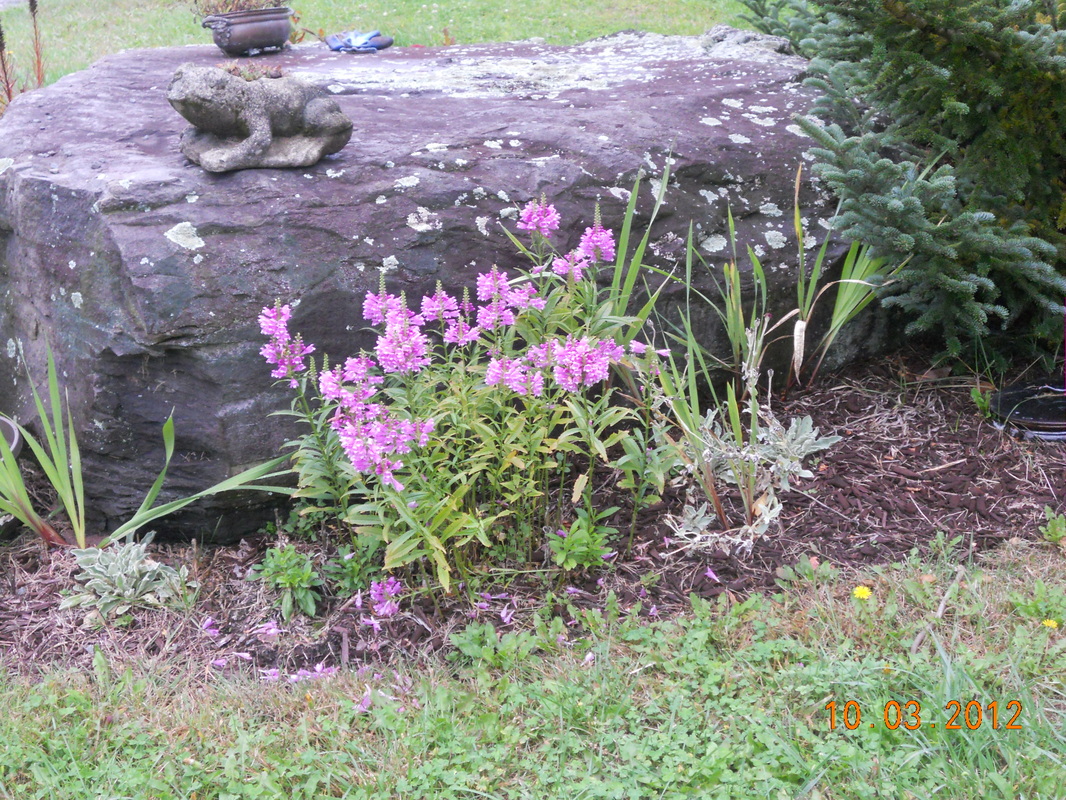
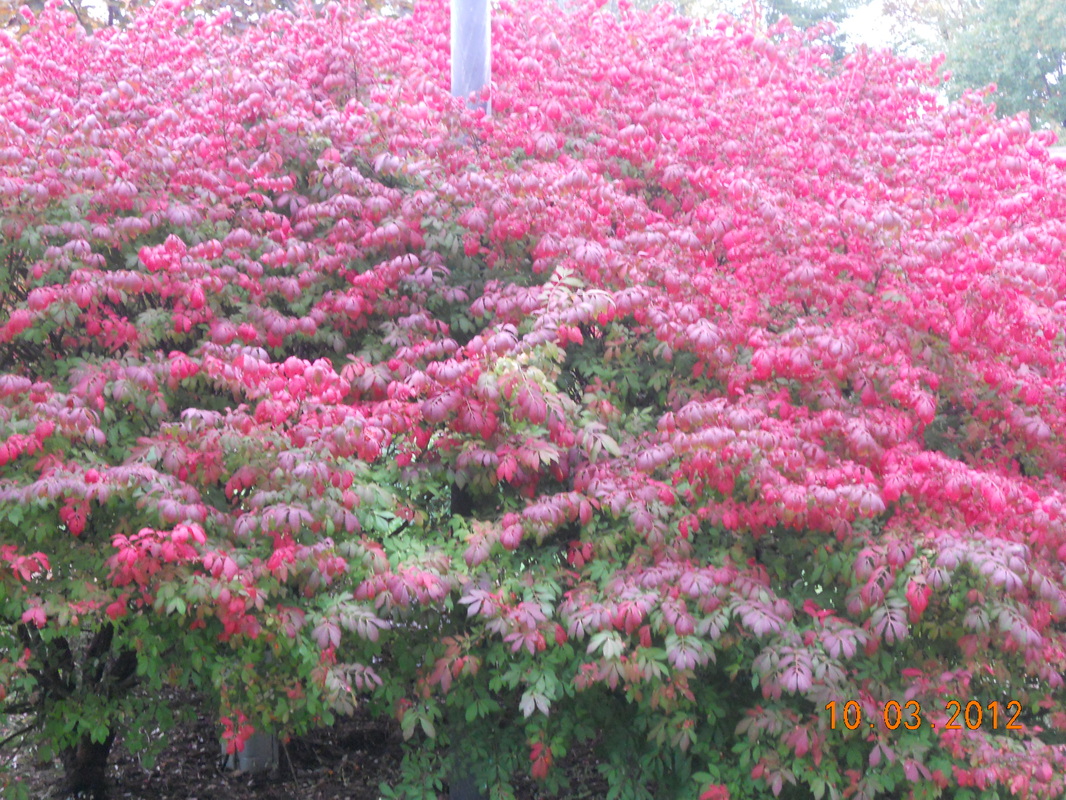
We went for a pretty chilly little scavenger hunt the other day.
The mission? To find the colors of the rainbow, even though the sky was a very wintry gray.
Surprisingly, we found what we looking for. I am not sure I would have taken the time to notice all the colors of the rainbow had the kids not been with me on my walk.
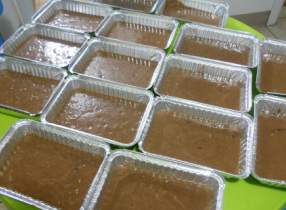
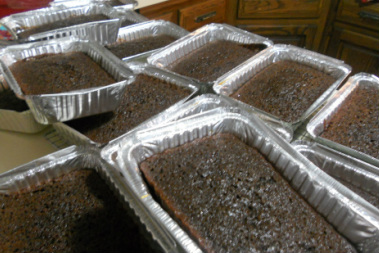
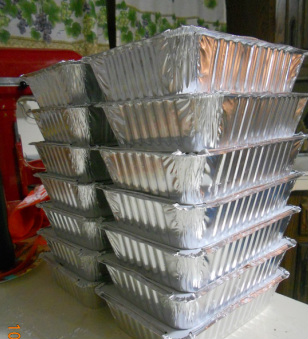
And now, in a decidedly non-rainbow order of colors, here is what we found:
(Take a quick click on each picture to see it better.)
Happy Fall!
 
 
We took the kids pottery painting today, something we had never done
before. And now that I think about it, I can't quite believe that the kids have
not experienced the fun of painting their very own plaster object before. Does
it sound like I am making fun? Because I am not.
 
I love (love) those paint your own pottery places. I love them so much that
I could have sat there all day, alone, painting one piece after another, never
getting bored. My wish is for someone to pay me to sit there and paint. I want
that to be my job.
 
Anyway, the kids had a great time.
And they paint the way they live, which is fascinating.  

There's the kid who narrated his every move. "Now I'm going to
use the little brush and paint blue here. No here. Here and here." I
think we can also call him the indecisive one.
 
Then there's the kid who painted with such a serious look on his face that
I stopped him midway through to ask if he needed to use the bathroom. He looked
like he was holding it in.
 
Next we had the little girl who sang her way through painting her mini cookie jar.
She's a little bit like Janice from the Muppets. You know the one, long straight hair,
who moves her head in a Stevie Wonder kind of way all the time because she
hears music in her head.
 
And then the little one. Who, I think, thought we were there for her
favorite activity: finger painting. A paintbrush did not even come near her
dirty little hands after the first three minutes of painting.
It was awesome.
I can't wait to pick up their creations and add them to our painted pottery
collection. Yeah, we have a collection, although as the years go by and the kids
get older and more prone to holding their own plates, that collection gets
smaller and smaller.
 
Josh and I began our collection around the time we got engaged. We visited
Our Name is Mud in NYC an obscene number of times and spent more than an obscene
amount of money there, creating a set of dishes for our newly married life.
Cute, right? Except for the fact that the company discontinued the plates we
were making (square ones with a rim, if you really really know) halfway through the set.
At the end of the day(s), we left with four or five dinner plates, four soup bowls,
three serving pieces and a napkin holder. Not quite service for eight, but you
know, paper plates are good too.

Fun for all. And I say all, because Josh got to take a nap in the car while we were all
painting.
Wishing you a very special Shemini Atzeret and Simchat Torah!
 And if you're not celebrating  - Happy Sunday!
 
 
We built a different succah this year. I love this one, it's neat, it's easy to put together as evidenced by the photo below and it stands up straight as a succah should. But I do kind of miss the slightly lopsided and extra-heavy succah we have an home, the one my kids painted. I'm going to have to figure out how to reconcile my love of going away to the country for holidays with my love of my homemade-ish succah that is way too big to pack into the van and bring upstate.
Okay. I think I'm reconciled. I looked at this year's succah pictures thus far, and I have to say, being able to build a succah, any succah, on a deck right off the dining room beats any nostalgia I feel for our other succah. And so for my brother, who has an awesome succah of his own this year, I say, behold, the building* of the First Annual Presidential Sukkah.
And now behold, the first bug in the First Annual Presidential Succah. Notice I don't say first annual bug. He's not welcome to come back next year.


*I only say the 'building of'. We don't have any actual 'sitting in' pictures yet. It needs to stop raining for more than three minutes first.
Chag Samayach and Happy Succot!
 
 
This is what greeted me when I came down to the kitchen this morning.
Almost scared the pajamas off of me, but the baby was so proud of herself,
feeding tea biscuits to the monkey's nose. And her little game kept her busy
while we baked a little while later.

You see, 'tis the season for pumpkins. And since Josh was gone for so long at
shul this morning, we made pumpkin  muffins. And mini muffins. And a pumpkin
bread. All from one recipe. Does it get better than that? Not from one 15 ounce
can of pumpkin, that's for sure. 
The first time I tasted anything pumpkin related, I was in California for
my uncle's wedding. In 1987. All the other kids were running around but my Bobby
Toby and I were sitting at the kiddie table, inhaling pumpkin muffins. My Bobby
Toby is no longer with us but for years, we had tried to recreate the same
delicious muffins we had had in 1987. And we couldn't. I think my Bobby's
problem was that she didn't bother to look for a recipe, she just winged it. I,
on the other hand, was always trying to make a "healthy" pumpkin muffin,
following different recipes, with flax seed and whole wheat flour. Then I pulled
out my old pumpkin bread recipe that I always tried to play around with and instead of using weird ingreidents, I just replaced some of the sugar with less sugar
and switched the margarine for oil. 
 
Instead of using the three cups of sugar that the recipe listed, I used two. Still awful, I know. But one taste of these muffins and I was back in California with my Bobby Toby, wearing my burgundy colored crushed velvet dress with white tights and shiny black mary-janes. And a matching velvet headband with a bow. Stuffing muffins into my mouth. Memories. These are deliciously unhealthy and definitely a once-in-a-blue-moon treat. Today must be a blue moon kinda day.
Here is the recipe, with my modifications:
1 15ounce can of pureed pumpkin, not pie filling
2 cups sugar
1 cup water or soy milk
1 cup oil
4 eggs
3 and 1/2 cups flour
2 teaspoons baking soda
2 teaspoons cinnamon
1 teaspoon salt
1 teaspoon baking powder

Preheat the oven to 350 degrees. Grease whatever pans you'd like to use. I
used one loaf pan, one muffin pan with 12 spaces, and one mini muffin pan with
24 spaces. 

In a bowl of a standing mixer (or by hand), mix the sugar, soy milk or
water, oil, eggs and pumpkin. Add the dry ingredients and mix until combined.
Pour half the batter into the loaf. Start baking the loaf pan right away because
that pan takes the longest, at about 50 minutes, but start checking it at 30
minutes to be sure the top isn't burning. I tented my loaf pan with foil at the
35 minute mark and left it like that until it was done, about 15 minutes later. 
 
Then pour the batter into the mini muffin tin and bake that on the other
rack. These take the shortest, coming in at about 11 minutes. Next fill the
regular sized muffin pan, move it to side and wash the dirty bowl and spoons. By
now the mini muffins should be done and the regular sized muffins can go in. The
regular sized ones took about 18 minutes to bake.

Let cool and eat. Or store in a Ziploc bag on the counter. Or wrap in foil
and stick in a labeled freezer bag and freeze. All good options. And just think
how lucky we are to have freezer bags to keep the food we work so hard on from
getting freezer burn. There were no dedicated freezer bags in 1987. That's why
we had to eat all those muffins. We were really just doing a service to the
hostess. 
If you like what you've read, please leave a comment!
 
 
It's amazing what you can accomplish during a one hour naptime.
Here is our succah before:
And here is our succah after.
I'm about halfway through, but I don't know if I will remember to take another picture later on.

The only problem I can forsee is that I decorated before the kids brought home this year's stash from school. We'll have to shift things around when they bring home their bags of decorations tomorrow, but at least, for now, I am ahead of the game.

Thanks for reading! And if you liked what you saw, please leave a comment!
 
 
The morning after - Yom Kippur, that is. The day dawns completely anew
when you can wake up and brush your teeth. Such a simple thing, yet it's
probably the one thing that makes you human enough in the morning to engage with
other humans. You can wear pajamas all day and stick a baseball cap on your mop
of unwashed hair and you will still have friends. But don't brush your teeth,
and forget it. Nobody will talk to you. So I guess that brushing teeth is really
the first beautiful mitzvah (or good deed) one can do, bein adam
l'chaveiro*
, after Yom Kippur.

Sunday was a busy day. By 9am, we had four batches of  challah dough rising
on the counter. We should be good for challah until the week after
Succot. I feel good just saying that. And I also feel good because the last dish
that I used to prepare for Yom Kippur was washed by 9:30am which meant that we
were full steam ahead to Succot by 9:35am. 
The two main accomplishments yesterday were the baking of the challah and
the baking for the teachers. I only baked enough challah for the first three
days of Succot. The rest of the dough was shaped, frozen and slipped into
freezer bags to be baked at a later date. I have never done that before. I
usually bake all the dough and freeze baked challah but it was so hot out
yesterday and I refuse to turn the air conditioner on in October so one batch in
the oven was enough. And besides, there was a lot of cake baking to do and not
that much time.

To bake the frozen challah next week, I believe all I have to do it take
them out of the freezer, let them defrost a little and bake, possibly for a
little longer than usual. I just hope they don't lose their shape while they are
defrosting. I guess we'll find out next week.
Picture
We didn't use all of these, but we were close.
On to the baking. Several years ago - when I only had one child in school -
I thought it would be a nice idea to bake something for the teachers before Rosh
Hashanah, something like an apple pie. That year there were three teachers. The
following year, with two kids in school, the number of teachers jumped to six,
but still manageable. Last year, we baked before Succot and gave out treats to
nine teachers, making pumpkin bread, a big hit. This year, I have three kids in
school. Care to guess how many teachers there are? You won't be able to and I
know that because I counted the number of teachers seven times before allowing
myself to understand that there are 14 wonderful people who teach my children. 
 
Fourteen. What to do? And what to bake? After agonizing (really, I agonized) I decided to go with an chocolate-chocolate-chip-applesauce cake.
It's a quick and easy recipe and did not involve peeling any apples or opening
any sharp cans of pumpkin as recipes of years past required.
Picture
Messy messy mixer with kiddies.
This recipe comes from the mom of the girl who was one of my besties in
elementary school. We have been out of touch for ages and recently reconnected.
Her mom used to make this all the time and my friend was sweet enough to share
the recipe. I have no idea what the real name of the cake is, so we'll go with
Old-Time-Bestie's-Applesauce-Cake.

Here it is:
1 stick margarine
1 3/4 c sugar
1 lb applesauce
2 c flour
2 eggs
3 T cocoa
6 oz choc chops
1/2 tsp cinnamon
1 1/2 tsp baking soda

Cream the margarine and sugar. Add the rest of the ingredients and mix
well. If you are baking one cake, pour the batter into a 9x13 inch pan and bake
at 350 degrees for 45 minutes.

If you are me and baking 14 cakes, you will make the recipe five times and
divide the batter among 15 pans (the pans came in sets of three). The pans were
rectangles, about 7"x4", possible a drop smaller, but I don't think so. Bake the
pans for 30 minutes each, testing the cake after 25 minutes. Not sure why but
some pans were done faster than others but I'm pretty sure that's a function of
my oven and not a function of the recipe.

Allow the pans to cool, cover them and come back tomorrow to see how we
wrapped them all up.

*Literally, between man and his friend.
Thanks for reading! And if you liked what you saw, please leave  a comment!
 
 
Picture
Back in the summer when we started planning the kid's birthday parties, we
made some decorations. Very simple, very fast and very re-usable, which is what
we like most in a decoration.

Everyone knows how to make party streamers. Cut strips of colored paper and
staple or tape the first one into a circle and just link the next circle to the
first. Simple. Easy. Straightforward. We always make these for birthday parties
and we always make these for our Succah. Every. Single. Year. And it was getting a
little old. Either they ripped before/during/after the party or they ripped
before/during/after Succot - or more likely, got rained on and fell apart, not
to mention the color draining right out of the colored paper and onto the
tablecloth.

There had to be a better way. And there is! We made these chain link party
streamers using colored craft foam, the same foam that is used to make the
Foamies letters and shapes that kids love to stick everywhere. The foam I used
came in sheets and was about $6 for a package of 40 large sized sheets, very
affordable. And I tested it in the sink, very waterproof.
Picture
I cut the sheets into strips, cutting the short side, so each sheet yielded a good
10 strips. Then the kids decided what patterns we would use, what color would go
next and they handed me the strips, I stapled and an hour later we had 5 huge
chains.

We used them for all our parties this summer and they are now safely packed
away in the Succah decorations bin in the basement, awaiting their next
mission.
Picture
Thanks for reading! And if you liked what you saw, please leave  a  comment!
Picture
 
 
This succah decoration is so super-simple to make that you can even do it
with two kvetchy little girls with bad coughs and a case of pink eye.
Like I did.

All you need is some yellow cardstock, markers, scissors and some more
cardstock in whatever colors you like; we used blue and green.
First we colored the yellow paper, making blue lines all over the paper for a
reason only evident to my three year old. Then I drew lemon shapes as a stand-in
for the etrog and I cut them out. While the girls were coloring, I cut out
triangles from the other paper, an equal number of blue and green triangles so
that each magen david could be made out of one green triangle and one blue
triangle
My nursery-going-three-year-old expertly glued all the pieces together -
the etrog on to the blue triangle and then the blue triangle onto the green one. 
 
Using a hole puncher and paper fasteners, I attached the magen davids in a
row and added ribbon to each end. The banner is now hanging in the porch, for
safekeeping until the succah is ready to be decorated. 

So easy. And all that gluing took at least twenty minutes. She's a
methodical three year old.
Thanks for reading! And if you liked what you saw,  please leave  a  comment!
 
 
Picture
So we actually did something really cool right before Succot started.

It all started last year, before Rosh Hashana when we went apple picking for the third time in two weeks and needless to say, we had several extra apples and were at the point where eating one more apple wouldn’t keep the doctor away. Eating any more apples would be inviting a trip to the doctor for apple-tinged vomit.

So there we were with loads of extra apples. We made apple cake, apple muffins and apple kugel. Then we hit the jackpot when we found a super easy and surprisingly yummy apple pie recipe. We started baking and wound up making six of them  – one for each of my kids’ morahs. And we hand-delivered them on erev Rosh Hashana. They were such a hit that we decided to make it a family tradition and bake for our beloved teachers each year before Rosh Hashana.

Except that Rosh Hashana was really early this year and we didn’t have a chance to go apple picking and did I mention that Rosh Hashana was like on the third day of school? So we didn’t bake for the teachers like we wanted to – and it made the kids (and me) kind of sad. So we changed gears and decided to bake for Sukkot. Apple pie isnt really a Sukkot kind of dessert so we went with pumpkin bread and I have to say, it came out fantastic. It’s a good thing we made 10 (there are 9 teachers this year) because we inhaled one as soon as they cooled off.

Picture
Picture


Here’s th link to the recipe:  http://www.marthastewart.com/recipe/ginger-pumpkin-bread

Just as a note, we left out the ginger cause we didn’t have any and also, cause yuck, ginger. The recipe is kind of cool because each recipe makes two cakes so we only had to make it five (!) times. Oh, and one more thing, don’t turn the kitchen aid on to a setting higher than 3. We did, we were impatient and well, let’s just say that our clothing (and kitchen cabinets, floors, windows and counters) were so full of pumpkin batter that we filled up the washing machine. Seriously. Sock, kippahs, everything.

While the cakes were baking we got out our paints and brushes and painted boxes to pack our cakes into. A few years ago we ordered a truck load of rectangular paper boxes for mishloach manot because it was so much cheaper to order 200 of them than it was to order 50. We wound up with a few extra and they came in super-handy here. The kids were so proud of themselves when they were done painting. I think they came out adorable. Above is a picture of one of the boxes.

So dear Primer and Kindergarten morahs, we hope you loved the pumpkin bread as much as we love you!


Picture
It’s raining. Again. It feels like it’s been raining for a week and yet it’s only been about 50 hours.  But who’s counting? I’ll tell you who -  me, that’s who!

There’s only so much entertaining one mommy can do when the rain won’t stop and there’s no school. So yesterday we baked for the Second Days of Sukkot.

Don’t you love how the Second Days are capitalized? As if that’s the official name of the holiday. Anyway, we baked brownies (from a mix), zebra cookies (not from a mix) and chocolate chip cookies (with oil, no margarine and they’re yummy!). We also made cupcakes that look (somewhat) like bees because if you had to name one animal that hangs out most frequently in the sukkah, it would have to be the bee. Well, maybe mosquito would be a good answer too but I didnt know how to make mosquito cupcakes.

In case anyone is wondering, the cupcakes are vanilla with a chocolate ganache frosting. The lines on the bees’ backs are made from sprinkles (all we have were multi-colored ones…). The wings were, I think, the coolest part. We made them out of melted chocolate piped onto waxed paper. When they dried, we stuck them into the bees and yippee, it’s done! It’s a good thing we’re invited out for a meal so we can share these babies.

So here they are. Our Sukkah bees. With the fantastic chocolate chip cookie recipe to follow soon.